Before you can add your domain name to your hosting account, you need to point it to the InfinityFree nameservers.
The nameservers of your domain name are a setting at your domain registrar to allow you to host a domain name with a different provider. So you need to change these settings at the site where you bought your domain name. Most registrars have different panels and we can’t cover them all in this guide. For this guide, we’ll use NameSilo as an example.
Step 0: Find the correct nameservers
Before you can change your nameservers, you need to find out which nameservers you should use.
There are different sets of nameservers you can use. Which ones to use depends on the situation.
If you are trying to create a new account, or want to add a domain with to an existing account with a username that starts with if0_, you can use these nameservers:
ns1.infinityfree.comns2.infinityfree.com
If you want to add a domain to an existing account with a username that starts with epiz_, you can use these nameservers:
ns1.epizy.comns2.epizy.com
Alternatively, and regardless of the situation, you can also use these nameservers:
ns1.byet.orgns2.byet.orgns3.byet.orgns4.byet.orgns5.byet.org
The nameservers you use are primarily relevant for the initial domain verification. After adding the domain to your account, you can use any nameservers you want.
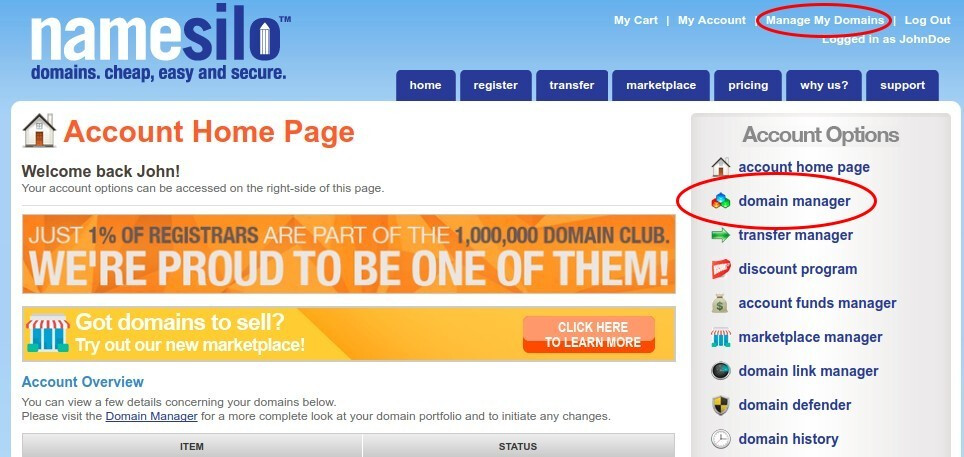
Step 1: Access your domain’s management area
To change your nameservers, you first need to login to your domain registrar’s client area. After that, go to Domain Manager:
Find your domain name in the list:

Step 2: Go to the Nameservers section
You can change the nameservers of your domain name through a separate section. The nameservers section is always separated from the DNS Records section. To change your nameservers, go to it:

Step 3: Set the custom nameservers
First, remove all the nameservers currently shown.
Then, enter the nameservers you found in step 1, and save them:

Step 4: Wait for the changes to propagate
That’s all you need to do! However, it can take anywhere between a few hours and a few days for the changes to be visible everywhere.